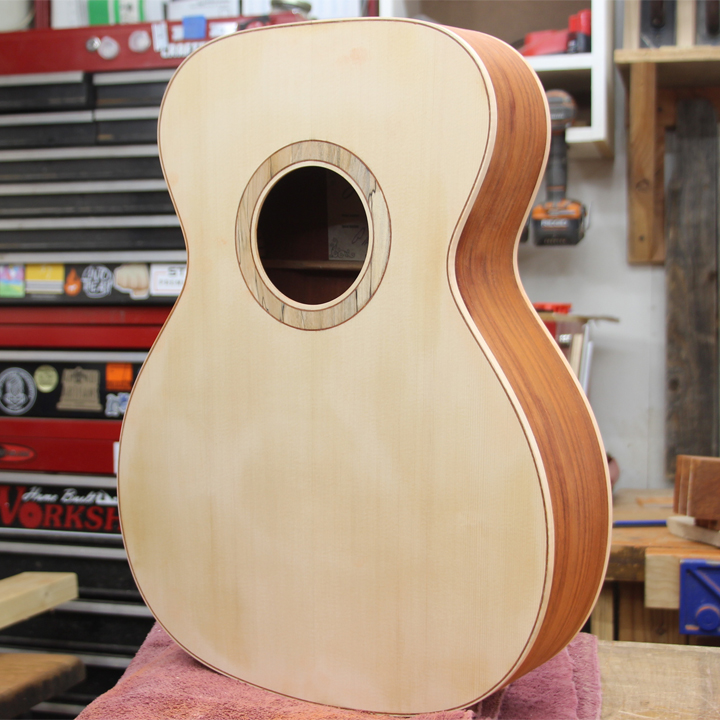
With the guitar binding jig completed, Its now time to put the jig to work. I’m ready to cut the binding and purfling channels and get the wooden binding installed. The first thing I decided to do is to make a bending mold for the binding. When the sides were bent, the mold I used was a close fit but some of the curves weren’t quite exact. I’m making a new bending mold that will exactly fit my guitar shape. I’ll be able to use this in the future to bend sides as well. I traced my outer mold onto a piece of MDF using a washer to offset the size to account for the thickness of the sides and bindings. After cutting out the shape and fine tuning it on the spindle sander, I made a bunch of copies that I glued up to a width of 6 inches. With the bending mold complete, I can now bend the binding. My friend Matt at zimblemanguitars.com let me use his bending machine to bend the bindings. The process was the same as bending the sides, and it went very well.
Back at the shop with my binding, I set up my binding jig to cut the correct size channels and fired up the router. Before turning it on, I sanded the sides of the guitar body. This is important because the router bearing references the sides of the guitar. It needs to be smooth before routing because any imperfection will be transferred to the binding channels. I was very careful when routing, to make sure I was always cutting with the grain to avoid tearout. Any little fuzzies left in the channel were removed with a small file. This ensures the binding fits smooth. I used binding tape to begin fitting the binding to the body. I decided to use CA glue to glue in the binding. This allowed me to take my time and get everything fitting well without having to worry about wood glue setting up. Once I had the binding all set in place, I carefully applied water thin CA glue to the binding and let it dry naturally. All thats was left to do was sand everything smooth.
I’m pretty happy with the results. There are a couple areas where the binding got very thin after sanding. I’m not sure what I did that caused this but I think I can live with it for now as I’m pretty anxious to get started on the neck. Check out the whole video below, and don’t forget to subscribe to my YouTube Channel while youre there. Have an awesome day.
— Save 10% and get some awesome CA Glue from Starbond —
https://bit.ly/2WJmxbL
— Here are some other videos for you to enjoy —

