Here’s a fun little guitar related project. I’m taking a broken amplifier footswitch and converting it for use in my guitar rig. This pedal isn’t going to control an amplifier, but it will control some functions of my processor that I use in my cover band gig. We all play through some form of digital processor to avoid hauling heavy amps around. It takes much less time to set up and is much easier on the back.
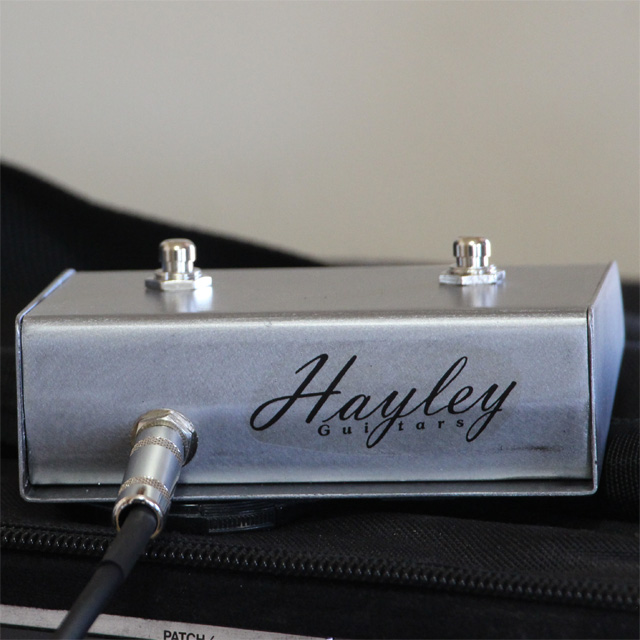
I’m starting off with a broken switch from an old amplifier. This one has a bad cable and the switches aren’t the correct type for my application. Basically, all I need is the housing. I’ll be replacing the rest and rewiring it. I removed all the components and sanded the black paint off. Then I used a surface conditioning belt on my belt grinder to add a neat texture to the bare metal. Then I applied a couple coats of clear, applied a Hayley Guitars water slide decal and sealed it with a few more coats. Then it was time to start wiring.
The wiring is pretty simple. I’m installing a stereo jack with one switch connected to what would be the left channel, and the other to the right channel. This will allow me to send 2 different signals through a stereo cable, which my processor will accept. My intent was to keep one switch momentary and the other an on/off switch. This didn’t work out, because my processor needs a momentary on both sides. After replacing the on/off with another momentary, the switch was working great. Both buttons were making the programmed changes.
I’m happy to have this new pedal. Having 2 different switches will open up some more options for me when the band is performing. This was a simple yet fun project that I will be getting a ton of use from.
Homemade Guitar Footswitch