
I have a Creality Ender 3 v2 3D Printer. Overall, this printer has been awesome. I have had it for over a year and it just works. I didn’t get into modifying it right out of the box like a lot of people do. I decided to just use it and any upgrades would be based on my experience with the printer. Well, I have finally come into one upgrade that I feel is an absolute must.
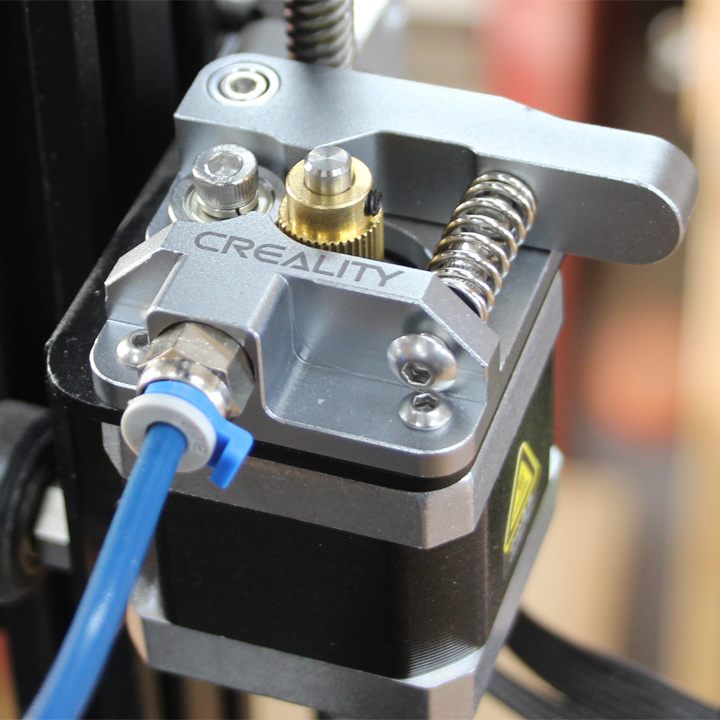
Out of the box, the Ender 3 has a plastic extruder. For a year, this plastic part has been fine for me. It wasn’t until recently that this plastic part broke, rendering my machine useless. With orders waiting to be printed, I ordered up the all metal extruder from Creality. There are several other versions of this part on the market, but I opted to stick with the Creality branded parts. This kit came with every piece I needed to both replace the extruder, as well as install a new bowden tube made from the popular Capricorn tubing.
In the video below, you can see how easy it is to replace your extruder on your Ender 3. This is an upgrade I would do right away now, if I were to get another Ender 3. Its not very expensive, and should eliminate downtime due to a broken plastic part.
NOTE: This is not sponsored in any way by Creality. I purchased all of the parts myself
— Affiliate Links to Products Used —
Creality All Metal Extruder Kit (with upgraded bed springs) – https://amzn.to/3uLdc1M
— Here are some other videos you might enjoy —
