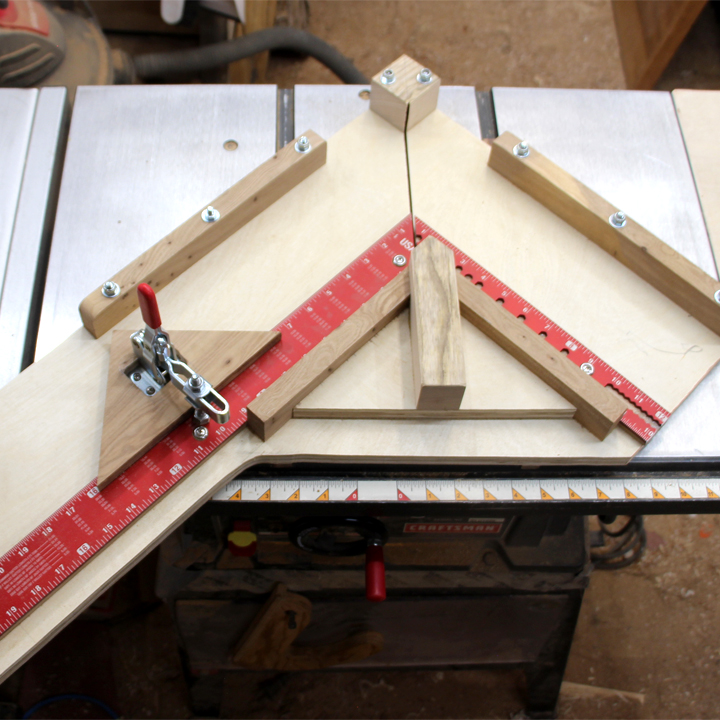
I decided to try to increase the quality and accuracy of my picture frame making by building a dedicated Picture Frame Miter Sled for my table saw. I based my design on a sled I saw David Picciuto from the YouTube Channel Make Something. I’ll post a link to his video below. I like the repeatability of his design by using an adjustable stop block, and the increased accuracy of a metal framing square will keep the cuts nice and square. The one issue I had was adapting this design to work with my table saw. Most of the builds I’ve seen using this basic design, were done on large cabinet style table saws. These large saws have a nice big top as well as T-Track style miter slots. My saw has neither a large top or T Slots. Since this design has quite a lot of weight on the back edge, it wants to tip really bad, so I had to make a few changes and add some weight to the front.
One thing that I took away from this project was that we should all take a minute before starting to replicate that new cool jig you saw someone make online. Be sure to take into consideration of how it will work in your shop, on your tools. We all have different tools and materials available to us. What works in a large shop, may not work in that configuration in your shop. I thought I had this project figured out at the beginning, but I still ran into some troubles. Don’t be afraid to take that idea and modify it to work in your shop.
This project ended up being a little challenging but in the end I have a sled that works well and I have no doubt that it will greatly improve the quality of my picture frame miters. I cant wait to put it to work on some frames.
— Affiliate Links to Products Used —
Milwaukee Framing Square – https://amzn.to/3jLvDw4
Titebond Wood Glue – https://amzn.to/3g9Uvgj
3M High Strength Spray Adhesive – https://amzn.to/3s4moLo
Forstner Bit Set – https://amzn.to/37B8vLf
—Here are some other videos you might enjoy —

