
At the time of this project (May 2020) we’re right in the middle of this Covid shutdown. We’re doing school from home and have had to set up a workspace for school work. I’m using a rickety plastic folding table and its terrible. I need to make something better and a little bit more suitable for this type of thing. I decided to use some Elm that came from some dead trees in my yard. The wood is dry and ready to use.
Since this wood is all live edge, I need to first get them cut nice and straight. I decided to take them to my local hardwood dealer to have them straight line ripped. This saved me a days work and was well worth having them rip them down. Next I planed them down and squared up the ends. I used my biscuit jointer to add some biscuits to the pieces for the top. This would help keep them aligned during the glue up. After gluing the top panel up, I moved on to the base.
For the base, I first squared up the pieces for the legs, and ripped the aprons to width. One of the legs has a bad crack that needed to be repaired. Before mixing up some epoxy, I sanded the top down because I also need to fill a couple of knot holes. After sanding, I filled both the crack in the leg as well as the knots with some black colored epoxy. There were also some very small voids that I filled with some Starbond Brown CA glue. This is some cool glue. The brown glue blends in better with the wood than any other CA glue I’ve used. Now….. More sanding.
To assemble the base I also used biscuits. I didn’t want to use any mechanical fasteners to assemble this so the biscuits worked out awesome. It was a little tricky to glue up but it ended up coming out nice and square. I also glued on some brackets that would be used to attach the top. The holes were drilled oversize to allow a little wood movement as the seasons change. After a bit of final sanding, I applied the finish. I used a homemade blend of Mineral Spirits, Boiled Linseed Oil, and Wipe On Poly. It really brought out a nice color in the Elm wood. Finally I screwed the top in place and the table is done.
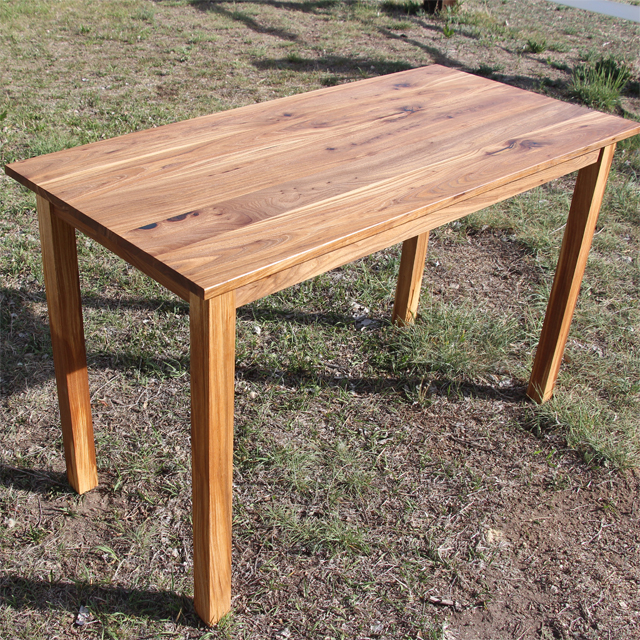
I’m super happy with the simple look of this table. The color is awesome. Its a nice, rich, brown. Its so much better than the rough plastic folding table. Check out the video below to see the entire build process. Thanks for stopping by.
Here are some other videos you might enjoy