If you’re looking for things for projects, a great place to look is the clearance rack at the hardware store. You can find great deals and inexpensive items that you can use for practice in honing your craft. Thats exactly where this weeks project came from. I’m always looking for ways to practice with my 2″ x 72″ Belt Grinder. I found this Machete on clearance and couldn’t pass it up.
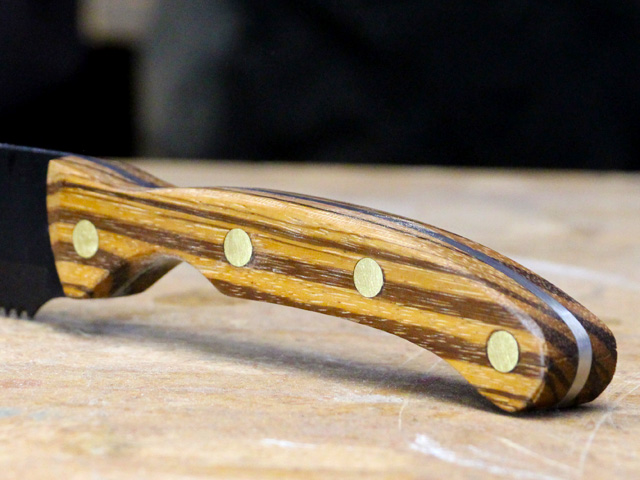
This machete had a cheap rubber handle, so I thought I could use it to make new handles. It would be great practice for me, and worth more than the cost. I removed the rubber handle that was bonded to the tang of the knife. Then, using a file, I got the holes in the tang to fit the brass pins I’m using to secure the new handles. I crafted some new handles out of some cool looking zebra wood. After drilling the holes for the brass pins, I used 5 minute epoxy to secure the new handles to the blade. Then it was time to shape the handles. This was the part I was really excited for. I used the belt grinder and several different grits of belts, to shape the handles to match the tang of the knife. After shaping, only a little cleanup with a file, rasp, and some sandpaper was needed. I finished it with some Danish Oil and paste wax. This is a simple finish and it looks good to.
Overall, I’m very happy with the results. The machete looks much better and I got a ton of practice with my grinder. If you’d like to check out the process, the video is posted below.
Clearance Rack Machete Makeover

